Settings
Manage your account, team, integrations, billing, and preferences.
Last updated Apr 24, 2026
Set it and (mostly) forget it
Most people visit Settings once when they set up their account, maybe again when they add a new team member or connect a cloud drive, and then rarely come back. That’s by design — the defaults are sensible, and you shouldn’t need to fiddle with configuration to get work done.
When you do need something here, click Settings in the left sidebar. Everything is organized into six tabs, and some tabs are only visible to account owners and admins.
General
Available to all users. This is your personal corner of Settings.
- Profile — Upload an avatar (JPG, PNG, or GIF, max 2MB) and update your display name. Your email is tied to your login provider and can’t be changed here.
- Preferences — Set your language and timezone. Keep the timezone accurate — it affects how deadlines and dates show up everywhere in the app.
- Notifications — Choose what sends you an email: comments, @mentions, deadline reminders, scheduled task completions. Turn off what you don’t need.
- Danger Zone — Remove your account. Requires confirmation because, well, it should.
Account
Available to owners and admins. Organization-level settings.
- Account Name — Update your organization’s name as it appears across the platform.
- Enterprise — Configure SSO (Okta, Azure AD, Google Workspace), directory sync (SCIM), and domain verification. Available on Enterprise plans.
- Danger Zone — Delete the entire account and all associated data. You’ll need to type your account name to confirm — this is the “are you really, really sure?” safeguard.
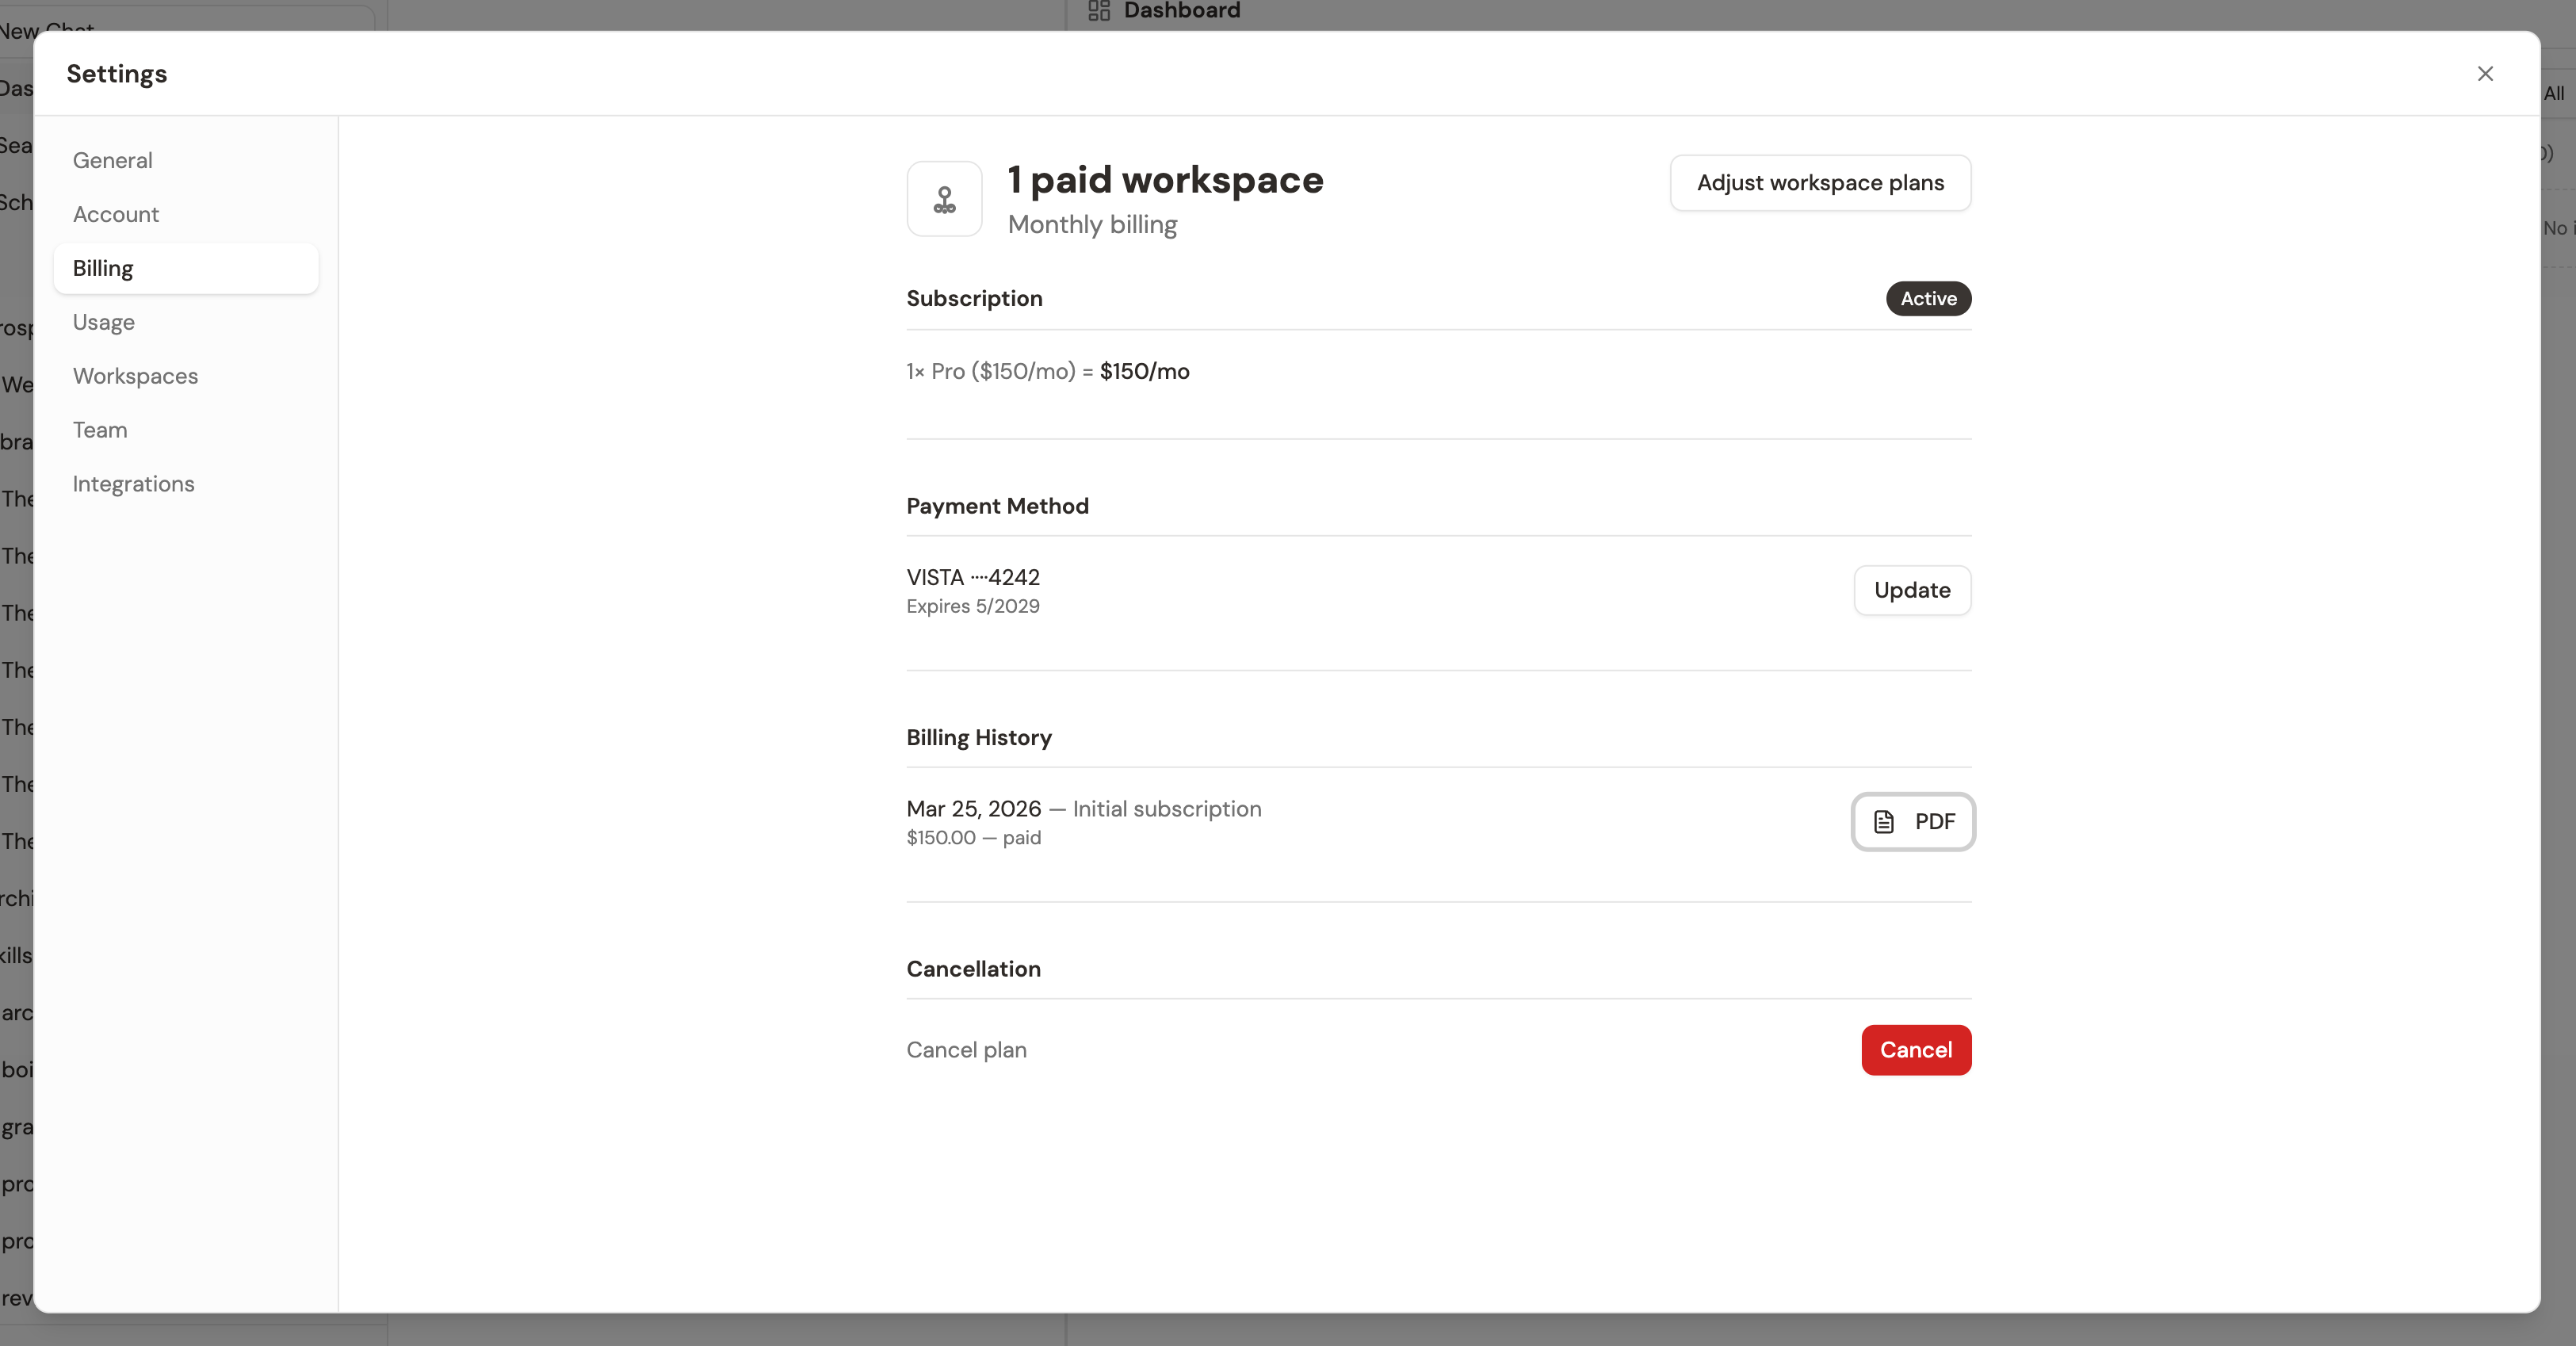
Billing
Available to owners and admins. Your subscription, usage, and payment details.
- Current Plan — See which plan you’re on (Free, Starter, Pro, or Pro+) and upgrade or adjust. See Plans & Pricing for what’s included at each tier.
- AI Usage — Track how much of your AI budget you’ve used this billing cycle and whether you’re approaching any limits. See AI Usage & Budgets for details on how usage is calculated.

- Cost Breakdown — See per-workspace pricing and your monthly total.
- Payment Method — View or update the card on file.
- Billing History — View past invoices and download PDFs.
- Cancellation — Cancel your subscription if needed.
Workspaces
Available to all users. Account admins and workspace admins can edit memberships and roles; all other members have read-only access.
- Workspace List — See all workspaces you belong to, along with their members, plan tier, and creation date.
- Create Workspace — Add a new workspace and assign team members. Account admins only.
- Manage — Rename, delete, or leave workspaces. Upgrade or downgrade individual workspace plans. Account admins only.
- Members — View or edit the members and roles for each workspace. Account admins can manage any workspace; workspace admins can manage their own workspace’s members.
Team
Available to owners and admins. This is where you manage who has access and what they can do.
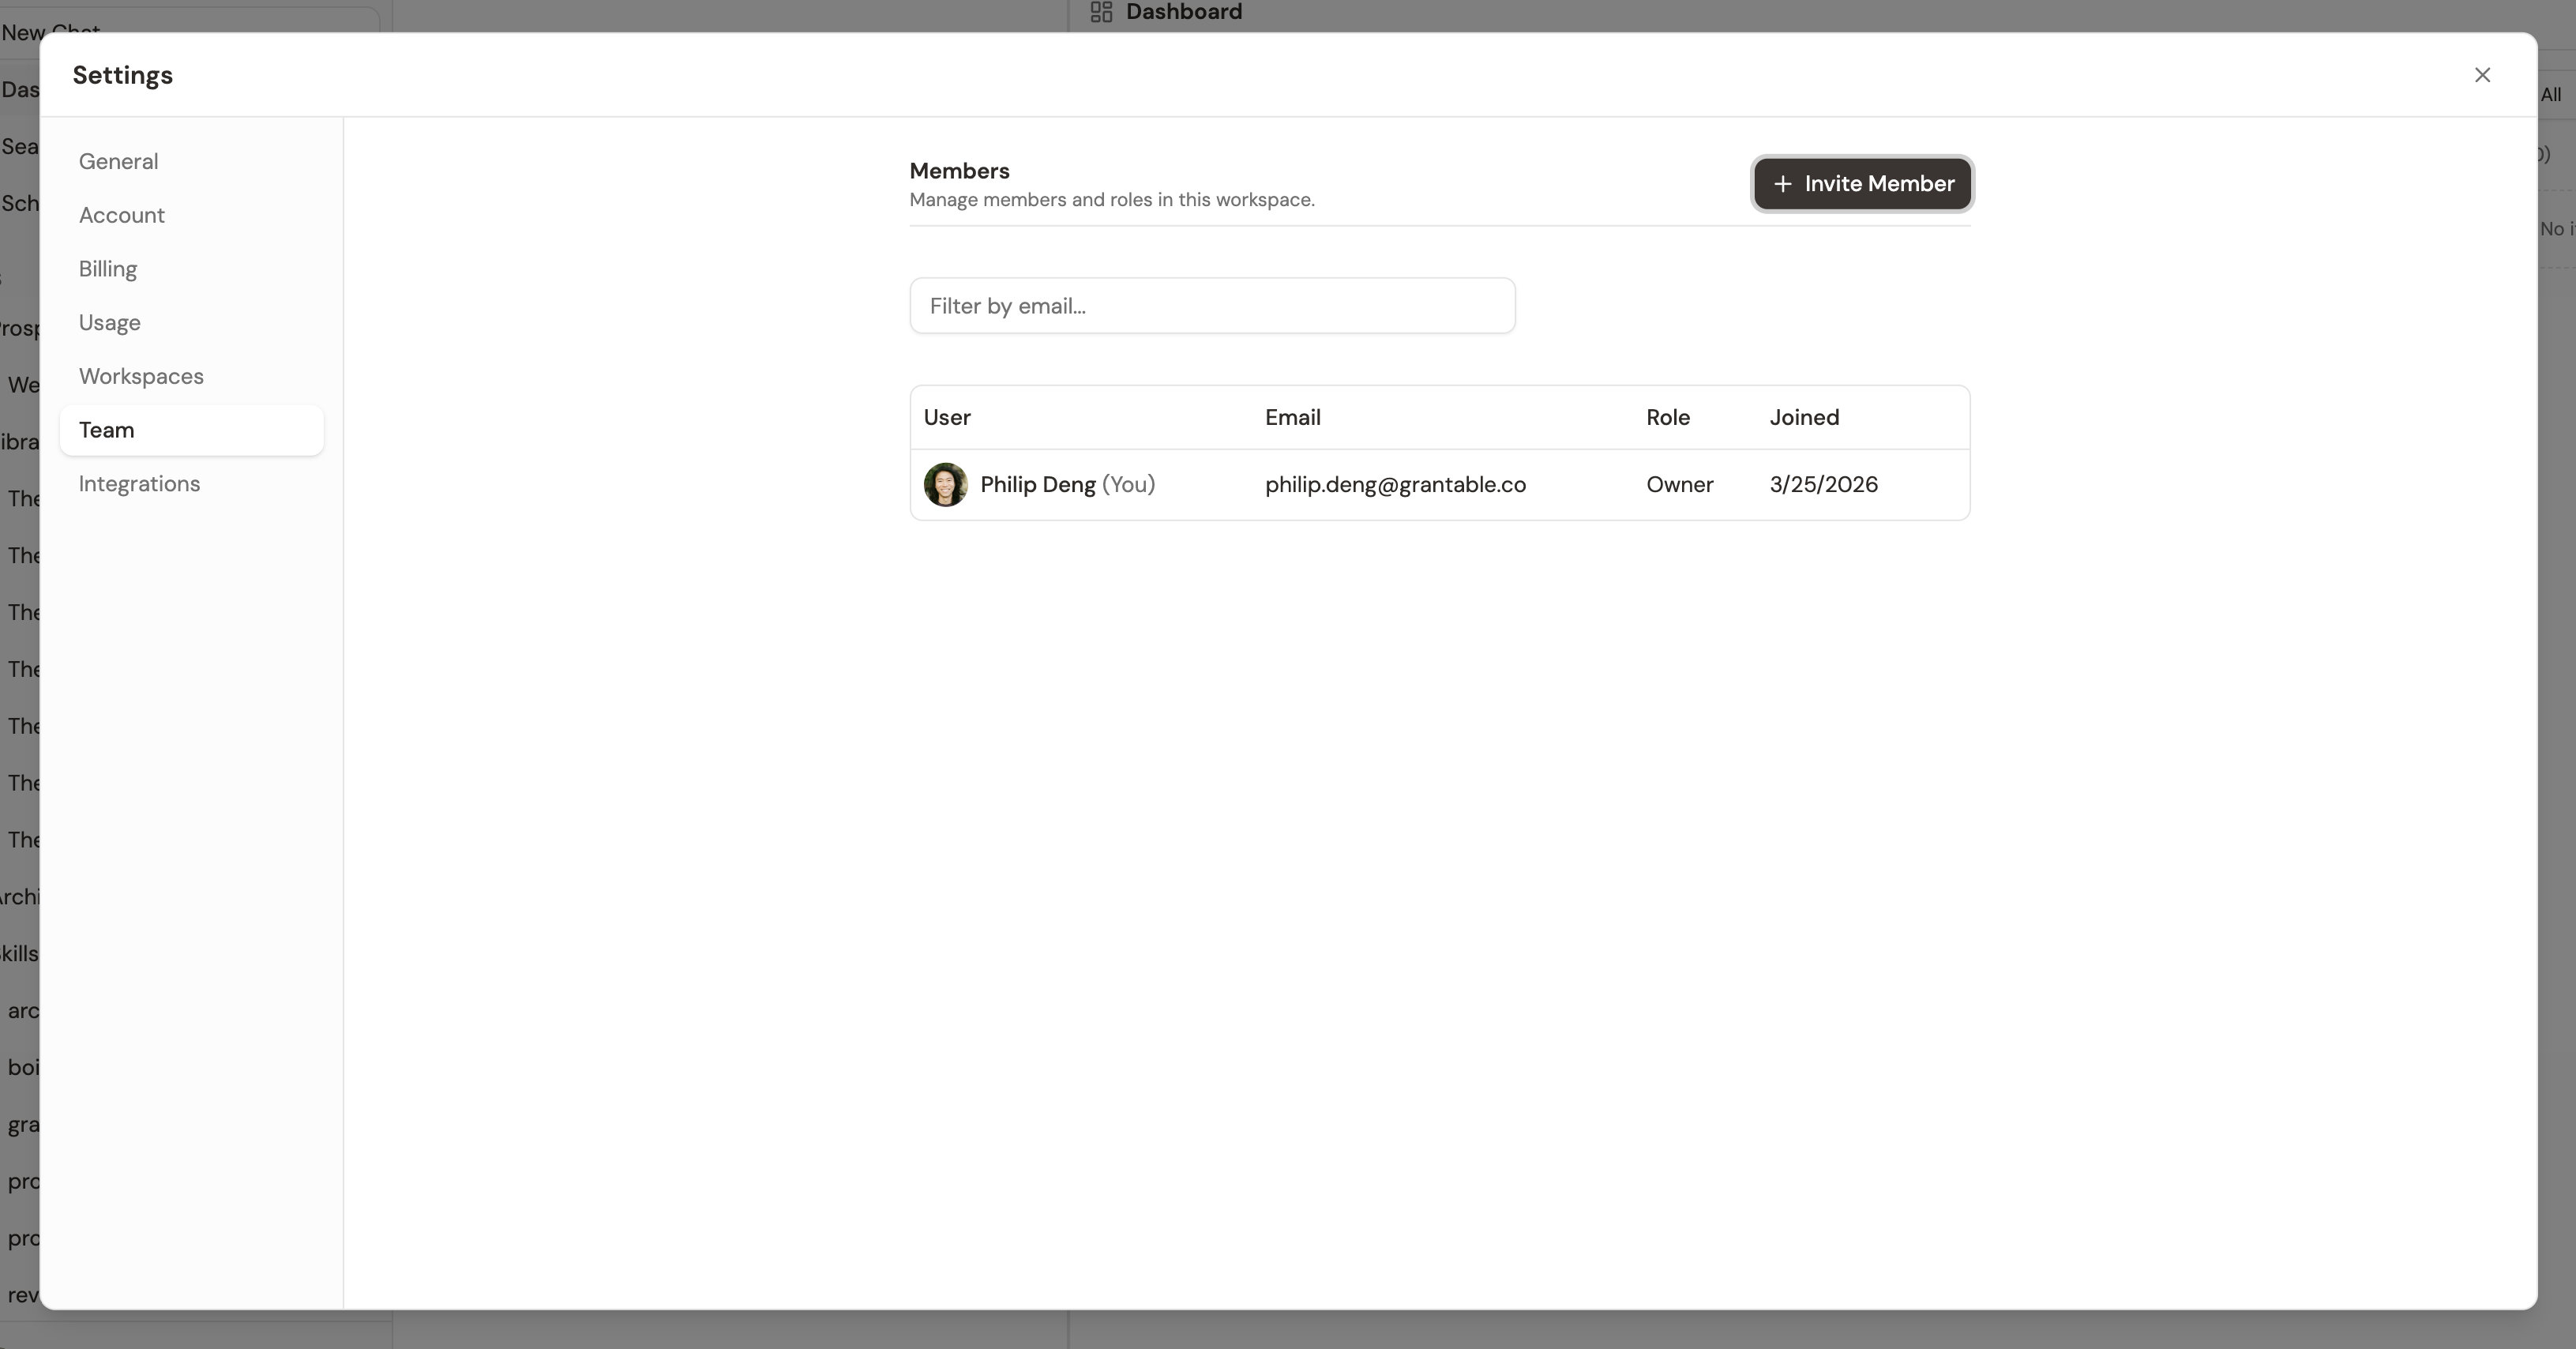
- Members Table — View all team members with their name, email, role, workspaces, and last active date. Useful for auditing who has access and whether anyone’s gone inactive.
- Roles — Assign workspace roles: Admin (full control), Editor (create and edit), Commenter (view and comment), or Viewer (read-only). See Roles & Permissions.
- Invite Members — Send email invitations. The invite dialog lets you set the invitee’s account role (Admin or Member) and choose which workspace they should join and with what workspace role (Admin, Editor, Commenter, or Viewer). The default account role is Member.
- Pending Invites — View outstanding invitations (each shows the target workspace) and revoke them if needed.
- Remove Members — Account admins and owners can remove a member from the account entirely via the three-dot menu. The account owner cannot be removed.
Integrations
Available to all users. Connect your cloud storage to pull documents into Grantable.
- Google Drive — Import documents directly from your Drive.
- OneDrive — Import from your Microsoft OneDrive.
- SharePoint — Connect Microsoft SharePoint sites.
- Dropbox — Import from your Dropbox account.
- Box — Import from your Box account.
Pro Tip: After connecting a cloud drive, you can tell the AI in chat to pull in specific documents — just say something like “import the budget template from my Google Drive” and it’ll find it.